• Guest, can you feel the love in the air? Valentine's Week at The Bell Tree has begun with a new mini-event featuring four activities to enjoy -- new and returning collectibles are up for grabs! Dive in to the love here.

Got any tips for GFX?

Joined
Jul 5, 2014
Posts
4,794
Bells
2,118
Love Tokens
0
Cupid Coins
0
Heart Dust
0
White Rose
White Rose
White Rose
White Rose
White Rose
White Rose
Black Feather
Rainbow Feather
Gold Trophy (First Place)
Blue Mote of Flame
I made my first three signatures just to try it out and see what it's like.

My first two that I pretty much just cut and paste layers together:
jasontoddsped_zps427441af.png

sign_zpsgr9jfebs.png


The first time I tried to use photoshop editing:
rex%20sig_zpspkfbrg7q.png


I still have no idea what I'm doing, so I'd love some tips and critique on how to improve or just general tips. :)
 
Last edited:
they look amazing, i love how everything compliments each other in the second signature. there are lots of tutorials on dA which can provide ideas/guidelines on how to do more affects - dont be afraid to play around with the render and stack some png resources onto each other here and there. for the first signature, i recommend trying to make the blood blend in more with the bg by possibly overlaying the same affects over it as the render, or even toning down the color could help too. in general, try making everything in the signature blend together if you can and avoid using colors completely different from the render (i.e. black & pink or red & green). lastly, i recommend topping off your signatures with a border c: it doesnt have to be a creative shape, it'll just make it look cleaner. just a black/white border works, the color is your choice. there are some creative/unique yet simple ways to do borders too. a common one besides the typical black outline is to add two black strips on the sides (preferably the top and bottom) - hope this helps
 
they look amazing, i love how everything compliments each other in the second signature. there are lots of tutorials on dA which can provide ideas/guidelines on how to do more affects - dont be afraid to play around with the render and stack some png resources onto each other here and there. for the first signature, i recommend trying to make the blood blend in more with the bg by possibly overlaying the same affects over it as the render, or even toning down the color could help too. in general, try making everything in the signature blend together if you can and avoid using colors completely different from the render (i.e. black & pink or red & green). lastly, i recommend topping off your signatures with a border c: it doesnt have to be a creative shape, it'll just make it look cleaner. just a black/white border works, the color is your choice. there are some creative/unique yet simple ways to do borders too. a common one besides the typical black outline is to add two black strips on the sides (preferably the top and bottom) - hope this helps

Thank you so much! I'll go search more about borders once I have time.
 
these are great for your firsts! you'll only improve from here!
for the first one - I really liked the filter and color scheme but the red splat was a bit off. maybe some more bokeh instead would work?
for the second one, I think you could add in a little more variety of colors and maybe mess with the lighting to create depth.
third one needs more blending. Make sure the blue part you put on can compliment the direction of the signature, so maybe change the placement a bit.
I personally don't like borders but they can work in some cases. I think it creates too much extra space.
You should practice some tutorials on youtube and deviantart!

Thank you! Yeah I wasn't quite sure with the blue part either. I just needed some contrast to all the orange for the last one.
 
Hey Mega_Cabbage, it's nice to see that you're looking to improve your graphics. You've definitely had a good start, though there are areas that need improvement, of course.

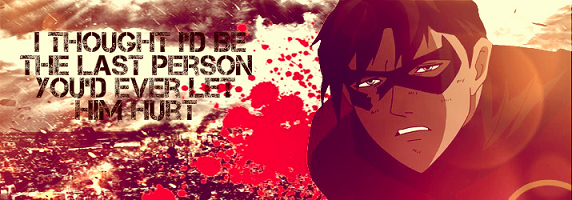
But before I delve into the real C+C, I just want to say that I actually disagree with some of what Isabella posted earlier. For the most part their post is solid, as their analysis of your weak points is spot on, but I don't think bokeh would have been the best option for improvement of that first banner. From the looks of it, you were going for a somewhat rough/grungy banner theme (the font style and color scheme lead me to say this), so splatter was definitely the way to go. Sometimes, light effects such as bokeh seem slightly contradictory or out of place paired with a grunge banner (unless there's a lot of shadows), so you do have to be a bit careful with using them.

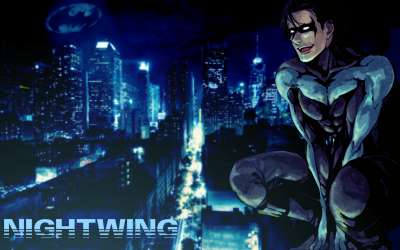
Now that I got that aside, I'm going to talk about your Nightwing banner. First off, the mono color scheme is awesome. I really like what you did with blue and black. The top image and background blend together so well that you wouldn't even be able to tell that they started off as separate pieces. (Well, I'm presuming that the top image and background are separate. Although, if you just used a stock image - then that's still good coloring, lol.)
So you're definitely already at a good start with blending via coloring. However, with a better grasp on lighting, you can make monocolor banners a lot more dynamic. (You know, since that can distract viewers from the lack of color variety.)

Some easy ways to add lighting: 1) using black and white gradients set to Soft Light or Overlay, and 2) brushing with black and white in areas that need to be darkened and lightened and setting those layers to Soft Light or Overlay afterwards.
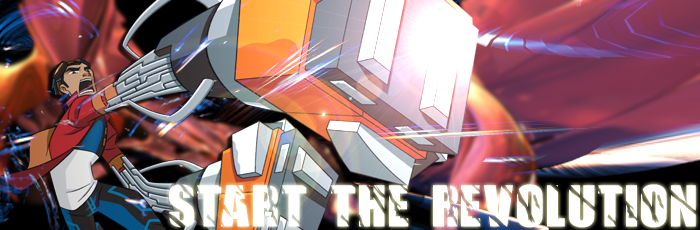
Here's an example:
EkkZOyN.png

(with lighting and darkening control)
MbFqWy9.png

(without lighting and darkening control)
I took a random render I had saved and used both of the methods I described above.
Now, I know the first version looks a lot darker and much less colorful, but you can always fix this later on with coloring adjustments. If we were to work with the second version, all we would be able to achieve is a flat-looking banner.

That's all I've got for now, though if you want some advice for C4D placement (as I'm assuming that's what you've used) and/or text placement, I can address those things in a separate post/link you to some resources.
Hope this is helpful :-]
 
Last edited:
Thanks derezzed! I've been hesitant to shadow some of the parts because of discoloration and the fact that I didn't know where to start with Photoshop (I've never used Photoshop before now other than as a glorified MS paint). I'll work on it. For the last one, I was going more for the 3D sticker style rather than blending the layers.
 
Last edited:
I like your style but mm maybe you should like make the render fit more with the background???

I'm not very good at gfx so don't take my tip as something helpful xD
 
Back
Top